AWS From Scratch 05 - Terraform
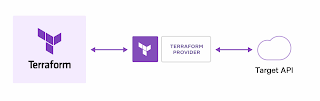
AWS From Scratch 05 - Terraform One of the primary reasons for installing the AWS CLI was to allow us to write scripts that create our cloud infrastructure: storage, compute, databases, and other services. This allows us to document what we build. It allows us to reliably repeat the exact same steps for building virtual machines, and other related infrastructure so we can tear it down and rebuild it at will. It also allows us to keep track of changes that we have made to our environment over time. We call this infrastructure as code. Infrastructure as Code AWS has it's own scripting language to define infrastructure as code called CloudFormation. HashiCorp has also developed an scripting language called Terraform, the benefits of Terraform is that it can be used on other cloud providers, making it more flexible. Installing Terraform Terraform has great documentation , but I'll summarize the Mac installation process here. Open up the Terminal.app and type the following command ...


